...
JobFile receives information from builders regarding tasks they schedule. This can be accessed in a number of ways depending upon your account level in JobFile;
NO ACCOUNT: The first method, which does not require registration, is by just clicking on a link in the call up email from the builder each time a task is scheduled
FREE: Registering for a free account enables the supplier to log on to the system and see all of their tasks from a single builder at a time
STANDARD: A paid user has the ability to see all their tasks across multiple builders at once and more.
MULTI-USER: A multi-user account enables team planning to allocate tasks to team members
API: Additional functionality allowing information feeding between systems
What can I do with JobFile?
- Coordinate your jobs from your clients and easily complete and manage them yourself.
- View delays on jobs and access the latest information to react quickly to changes and avoid downtime.
- Report back to your clients instantly and with ease.
- Meet your deadlines and improve your service by communicating availability, delivery confirmation and schedules directly back to your customers.
- Avoid payment delays using JobFile to highlight mismatches between your schedule and your customers and automate your follow up to resolve issues in real time.
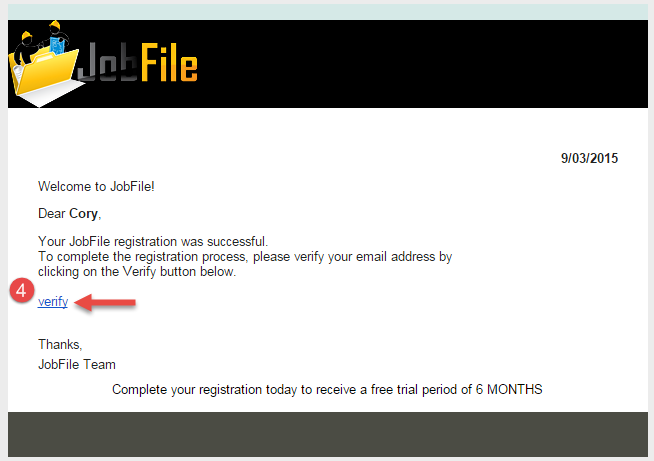
Email Call-up from the Builder
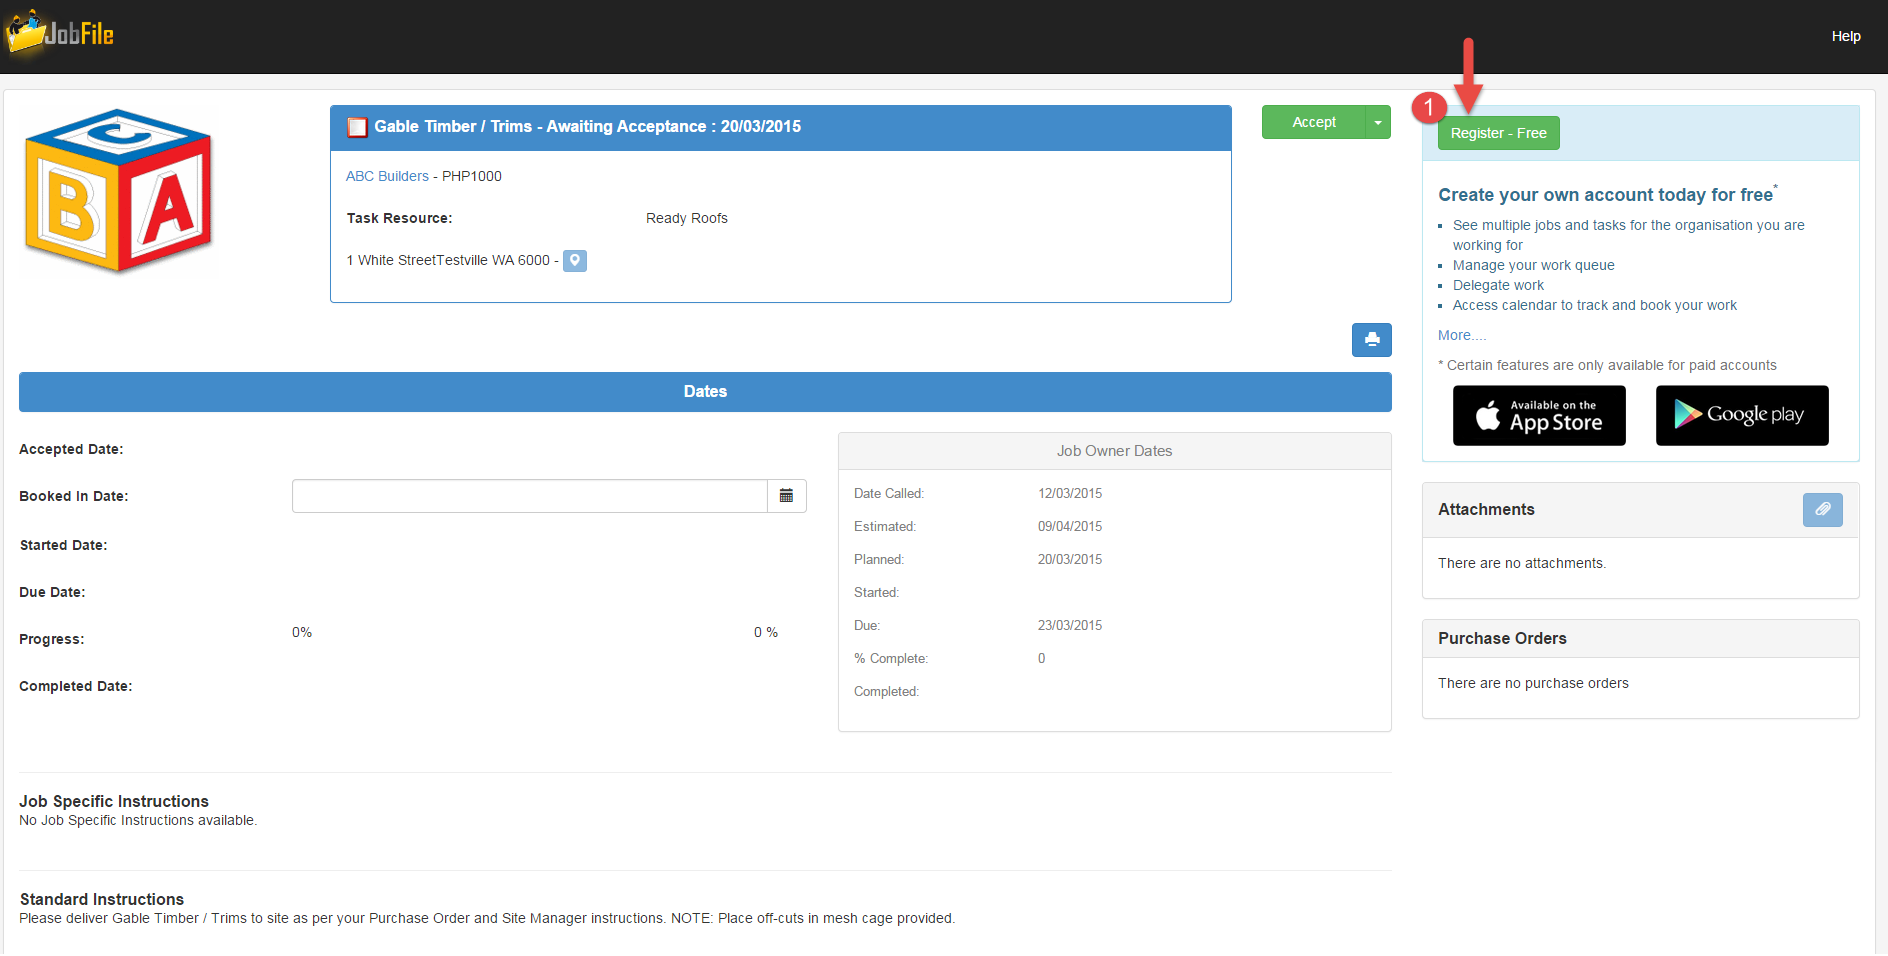
This requires the builder to have JobFile integration enabled. When a builder sends an email from their ClickHome system for the supplier to do a task on a job, it will create a task in JobFile and then send out an encoded link to the Supplier in the call-up email for that specific task. This JobFile link is highlighted below;
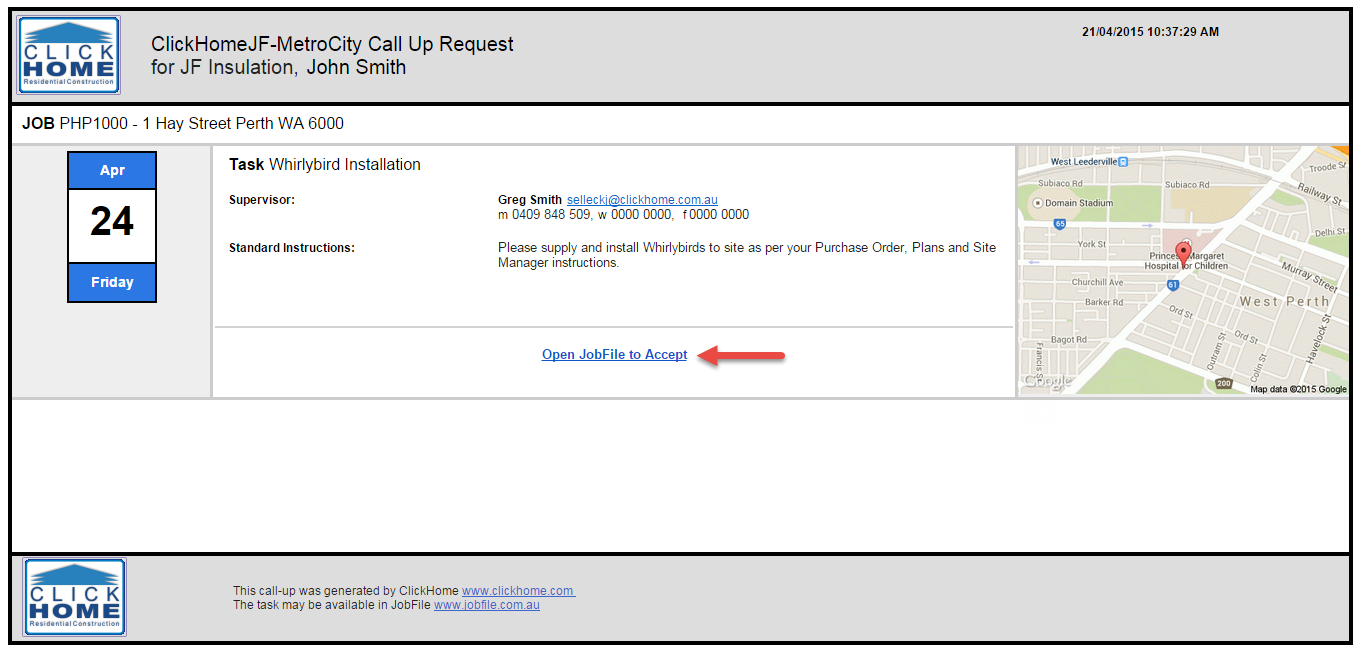
- Click on the link above link 'Open JobFile to Accept'
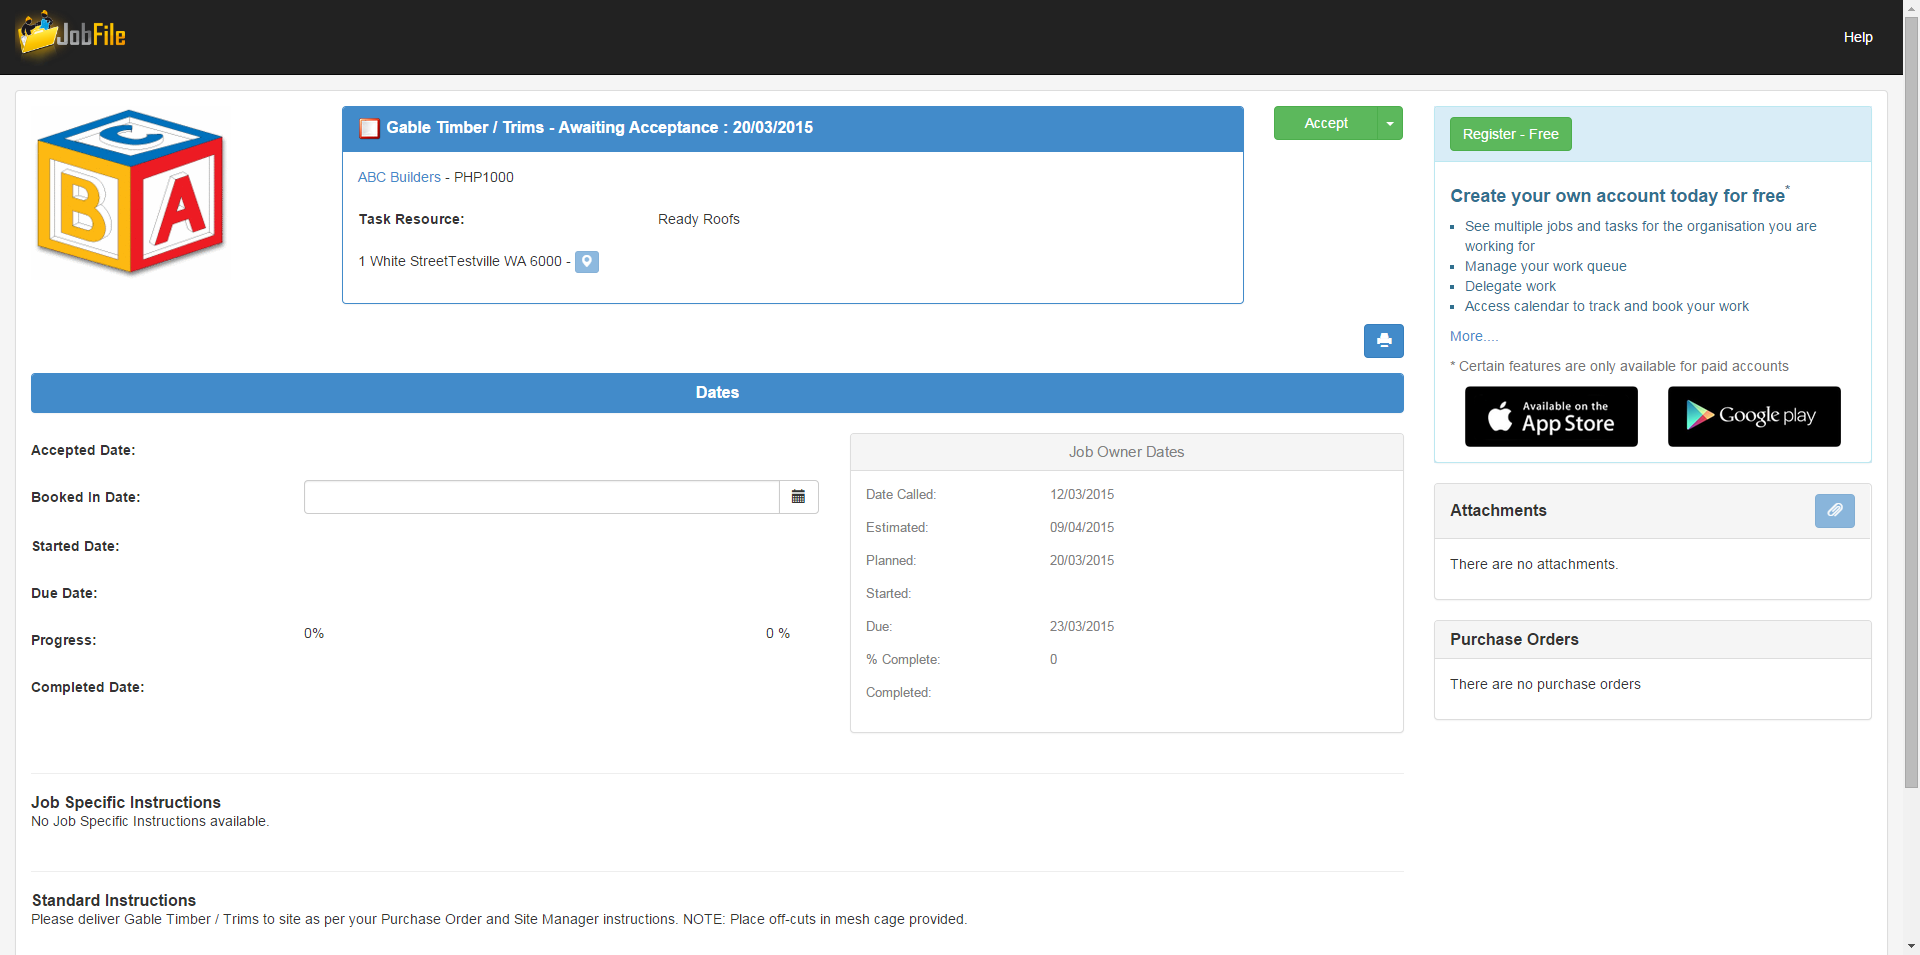
- The task details screen in JobFile will appear as per below
- Follow the 'Using JobFile'
- instructions below to respond to the builder
NOTE: If you already have a JobFile account the page above won't have the registration information on the right hand side and you will be able to login instead using the 'Login' link.
Using JobFile
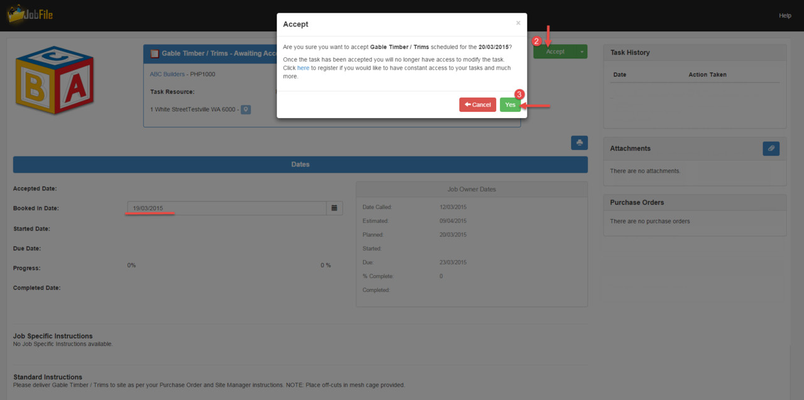
- Click 'Accept'
- Click 'Yes.
- Click the arrow on the Accept button
- Select 'Propose Alternate Date'
- Choose an alternate date, a reason and a comment then click 'OK'.
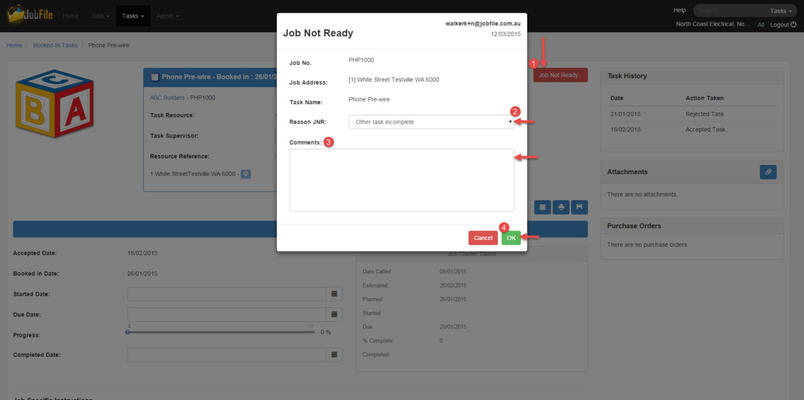
- Click the arrow on the Accept button
- Select 'Reject'
- Enter a reason and a comment then click 'OK'.
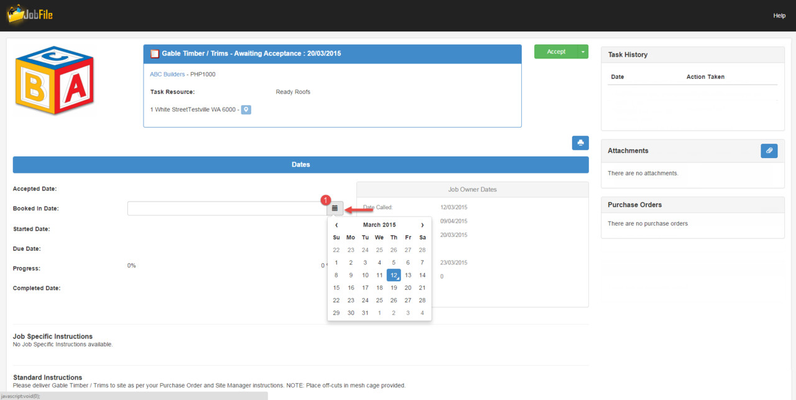
- Select a booked in date
- Click 'Accept'
- Click 'Yes'
- view the task after accepting it
- manage your progress
- add and receive notes on the task
- upload attachments
- view purchase orders
- see all the tasks allocated to you for reporting purposes
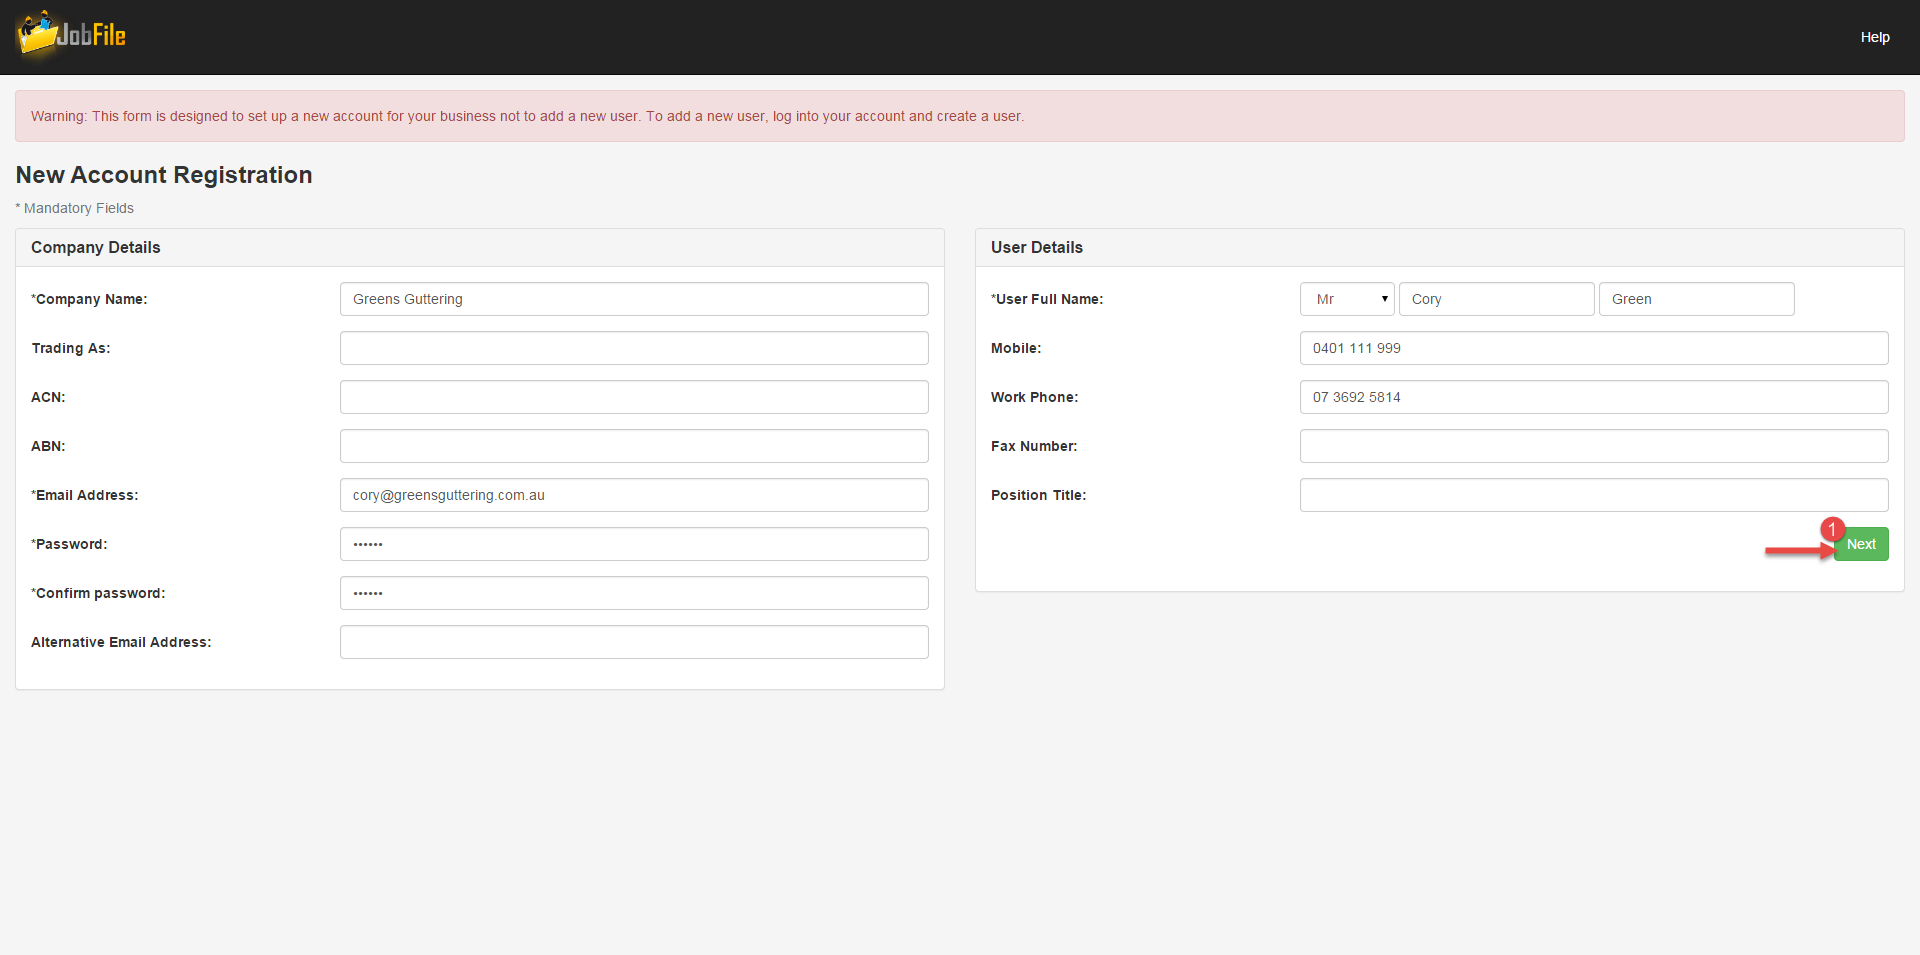
- Fill in your details
- Click 'next'
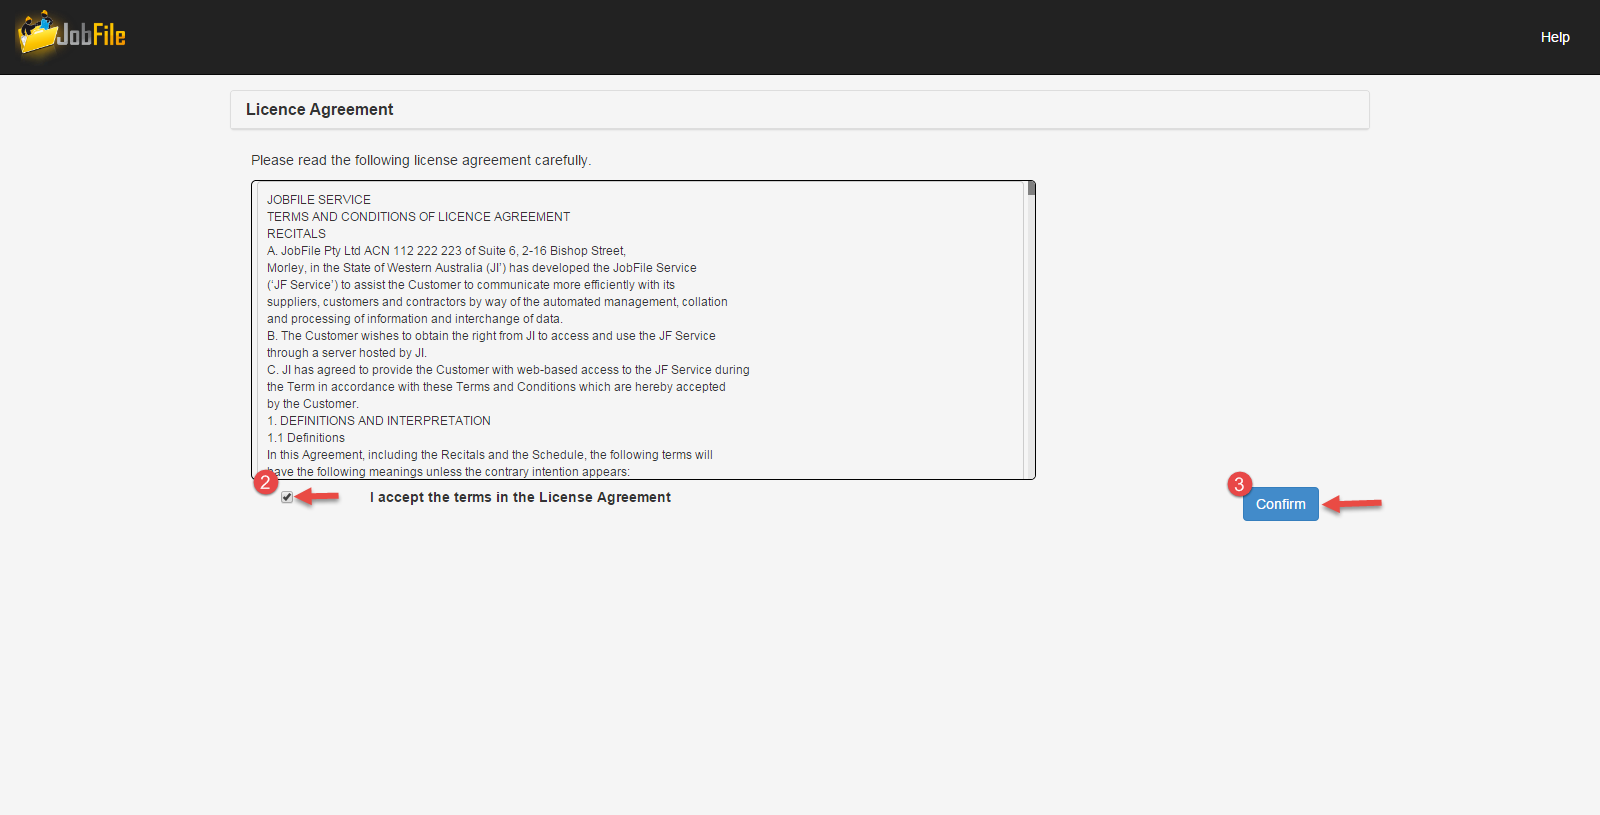
- Read the Terms and Conditions and then tick the check box.
Started date;
Due date;
Progression of task via the slider bar;
Completed date;
- Task Reference number of your own; and
- Task Supervisor from your company
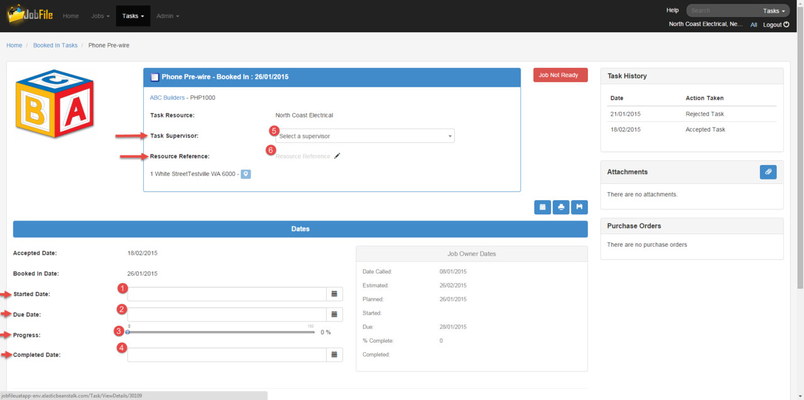
Depending what your level of access is you will also be able to view and upload attachments, view and add notes for yourself or notes for the builder and print the task details.
With future functional development you will also be able to view the calendar, see the job on a map, get directions and much more.